All You Need to Know About Primer
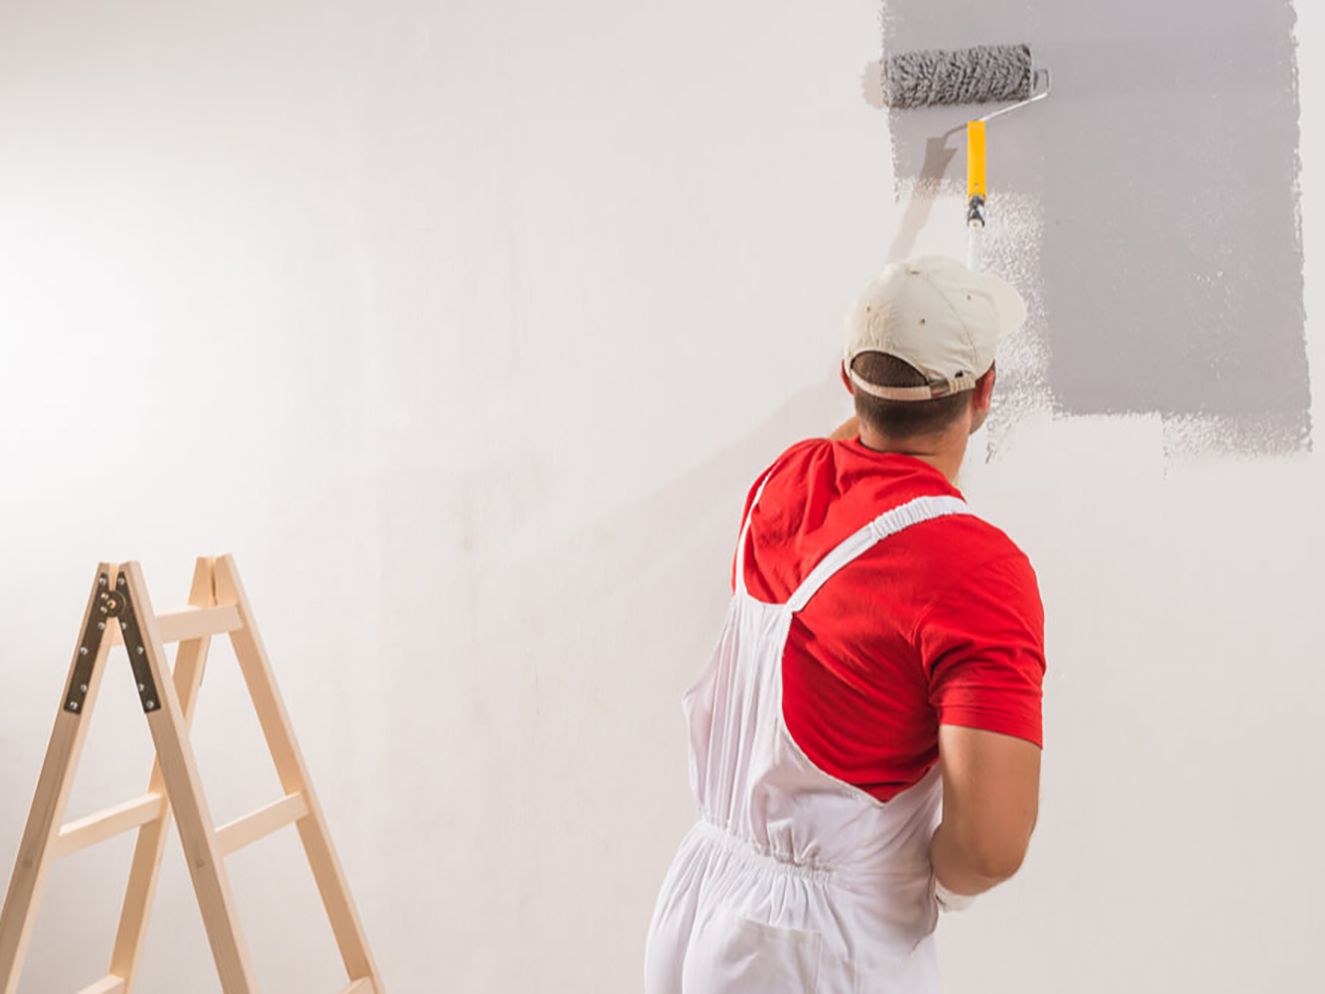
If you’ve walked down the paint aisle, you’ve likely seen rows of primer next to the colorful paints. While it might be easy to overlook, primer plays a crucial role in the painting process. Its primary function is to prepare surfaces before the final coat of paint is applied, ensuring the best possible finish. However, not every project requires primer, and knowing when and how to use it can save you time and effort. Let’s dive into the details of primer, when it’s needed, and how to choose the right one for your next painting project.
When Primer is a Must
There are specific situations where skipping the primer is not an option if you want a smooth, professional result. Here’s when you’ll need to include it in your process:
Stained or Damaged Surfaces: Walls that are discolored by water damage or other stains can show through fresh paint, especially if you’re using lighter colors. Applying a stain-blocking primer will help prevent this from happening, ensuring a uniform finish.
New Surfaces: If you’re working with fresh drywall, wood, or metal, using primer is essential. New materials tend to absorb more paint, so primer helps to seal the surface and create a smooth base that requires fewer coats of paint.
Dark Colors: Covering a deep shade, like navy blue or burgundy, with a lighter color can be a challenge. Without primer, you’ll need multiple layers of paint to get solid coverage. A coat of primer simplifies the process, saving time and reducing the number of paint layers needed.
Glossy Surfaces: If the existing paint has a glossy finish, your new paint won’t adhere properly without a primer. A primer will help the fresh coat grip the surface, ensuring even coverage and durability.
Wallpapered Walls: Whether you’re painting over wallpaper or removing it, applying primer helps to smooth out the surface and creates a suitable base for your paint, especially if the wallpaper leaves behind a rough texture.
Changing Paint Types: Switching from latex to oil-based paint (or vice versa) requires a primer to ensure proper adhesion. If you’re unsure what type of paint is currently on the surface, using a primer is a good precautionary measure.
Types of Primers: A Breakdown
Not all primers are created equal. There are three main types—oil-based, latex, and shellac—each with its own strengths and ideal uses.
Oil-Based Primer
Oil-based primers are a versatile choice and are especially effective at blocking stains and sealing surfaces. They’re also highly durable, making them a great option for surfaces exposed to weather or high traffic. However, they have a longer drying time (around 24 hours) and release volatile organic compounds (VOCs), which can impact indoor air quality.
Pros
- Excellent stain coverage
- Durable and great for high-traffic areas
- Handles temperature fluctuations well
Cons
- Long drying time
- Harder to clean
- Contains high levels of VOCs
Latex Primer
If you’re looking for an eco-friendlier option, latex primers are water-based and have fewer VOCs. They work well on most surfaces, including softwoods and masonry, and dry much faster than oil-based primers. However, latex primer is not ideal for blocking heavy stains, so it may not be the best choice for every job.
Pros
- Quick drying (about 3-4 hours)
- Suitable for a variety of surfaces
- Low VOCs
- Easy cleanup
Cons
- Not the best for covering stains
- May require testing on wood grain
Shellac Primer
The powerhouse of primers, shellac is great for indoor projects and excels at sealing surfaces and blocking stains. It dries in as little as an hour and has been a go-to primer for years. However, it does emit strong fumes and contains a higher level of VOCs, so good ventilation is a must when using shellac primers.
Pros
- Dries quickly
- Blocks tough stains
- Works well on various surfaces
Cons
- High VOCs and strong fumes
- Requires proper ventilation
- May need thinning before application
Surface Preparation Before Priming
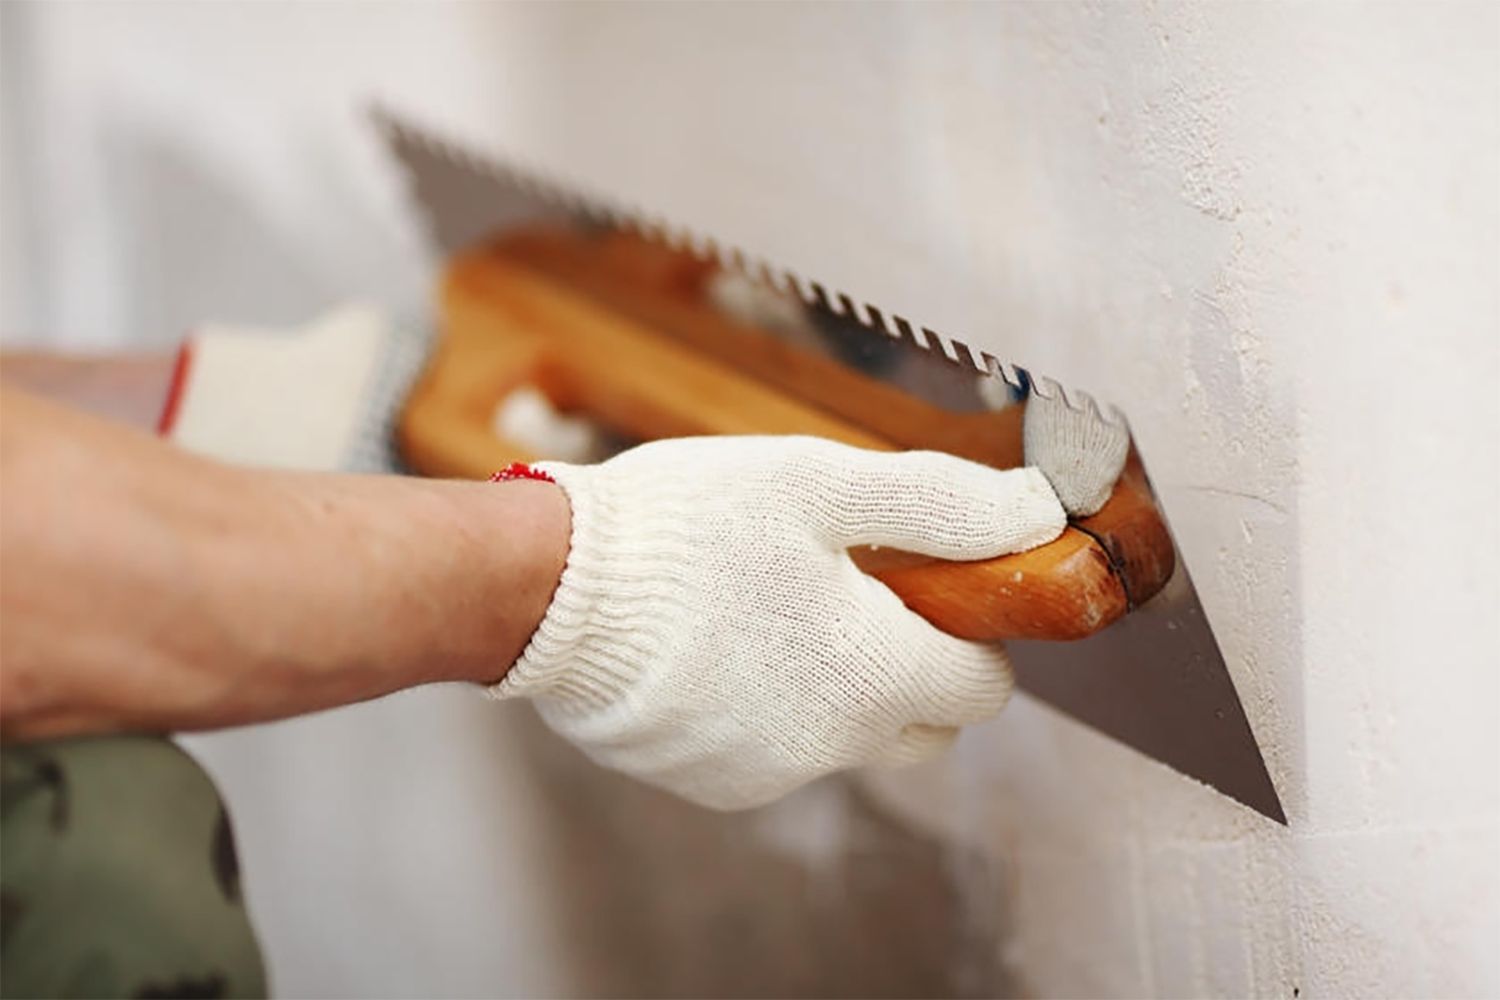
Before you dive into priming, it’s important to properly prepare the surface. The prep process can vary depending on the material and location, but it’s essential for a long-lasting paint job.
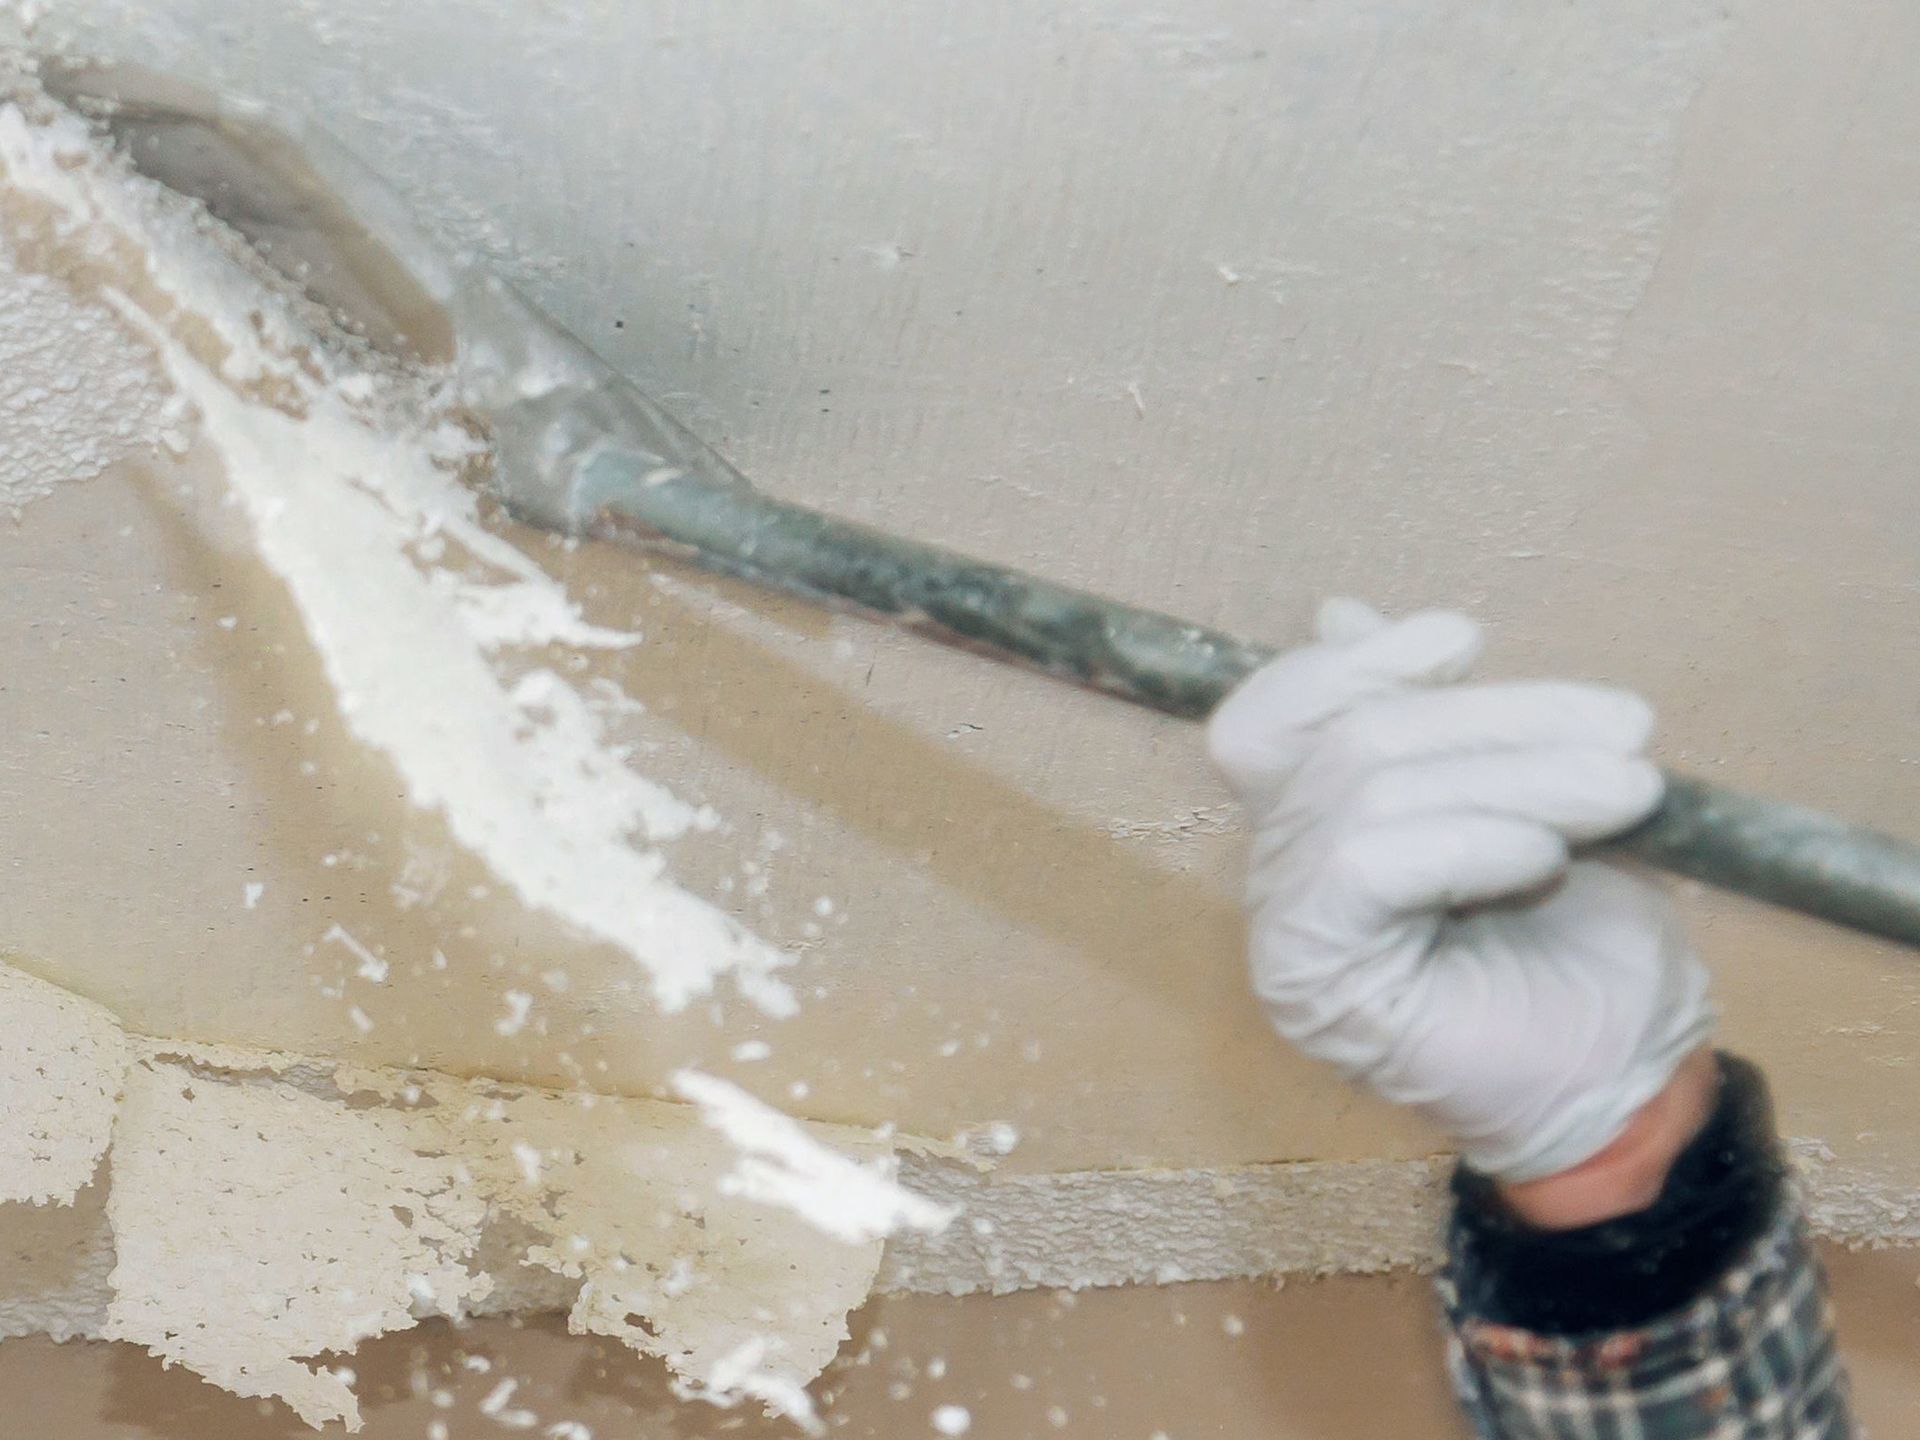
Clean the Surface: For exterior surfaces, use a pressure washer or garden hose to remove dirt, peeling paint, and debris. Interior surfaces can be cleaned with a damp cloth, sandpaper, or sponge.
Repair Damage: Check for any dents, holes, or cracks that need to be fixed. Metal surfaces might have rust spots, while wood may have chips or rot. Address these issues before moving forward.
Seal and Caulk: Inspect areas around windows, doors, and vents for any damaged caulking. Re-caulking these areas will provide a clean, sealed surface for the paint to adhere to.
Protect Surrounding Areas: Use drop cloths and painter’s tape to cover anything you don’t want to get paint on, such as plants, furniture, or trim.
Start Priming: Apply your primer evenly, ensuring you cover all areas. Depending on the surface, you may only need one coat, but some projects may require additional layers.
Picking the Right Primer for Your Job
Choosing the right primer boils down to understanding the surface you’re working with and the type of paint you plan to use. If you’re still unsure, the staff at your local hardware store can help you make an informed decision. And if your project feels too overwhelming,
Modern Builders is here to help with all your home painting needs. We offer
expert services that take the guesswork out of the equation, ensuring your project is completed with professional precision.
2022 © Modern Builders | All rights reserved
